MODEL REFERENCE
Brother L14
13 troubleshooting topics · 2 guides
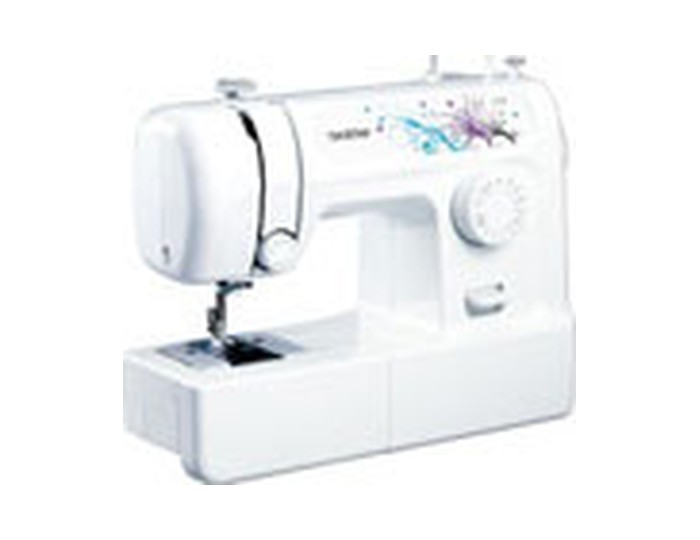
The checks and guides below come from the official manuals for this model.
No matches for this wording. Try a light name, error code or a shorter phrase.
Troubleshooting
Find the problem you are experiencingMachine does not runView
Switch the machine on, move the bobbin-winder shaft fully left and connect and operate the foot controller correctly.
Fabric cannot be removedView
Lift the fabric carefully, cut the tangled threads below the needle plate and clean the race. Switch off before working around the needle or removing the plate.
Needle breaks6 steps
- Switch off, then refit a straight sharp needle fully into its clamp and tighten the screw firmly.
- Match needle and thread to the fabric and use the correct presser foot.
- Rethread correctly, seat the spool and loosen excessive upper tension.
- Guide fabric without pulling it.
- Use the specified bobbin.
- Ask your retailer to replace a scratched plate or foot, and an authorized service center to replace a damaged bobbin case.
Upper thread breaks5 steps
- Rethread the upper path and seat the spool correctly.
- Clear knots, choose a needle suited to the thread and fabric, replace a bent or blunt needle and refit it fully.
- Loosen excessive upper tension.
- Use the correct bobbin and rewind an unevenly wound one.
- Have a scratched needle plate or foot replaced by the retailer, and a burred bobbin case replaced by an authorized service center.
Lower thread tangles or breaksView
Replace a scratched or rough bobbin, use the specified bobbin and refit it with thread routed correctly. Switch off and clean tangled thread from the race before retrying.
Thread tension is incorrect3 steps
- Rethread the upper path and rewind and refit the correct bobbin.
- Match needle and thread to the fabric.
- Fit the presser-foot holder correctly and adjust upper tension for the stitch and fabric.
Fabric wrinkles3 steps
- Correct the upper threading and bobbin fit, and seat the spool properly.
- Match the needle to the fabric, replace a bent or blunt needle, use a stabilizer beneath thin fabric and fit the correct foot.
- Reduce overly tight upper tension.
Stitches are skipped3 steps
- Rethread the upper path.
- Choose the correct needle for the fabric and thread, replace a bent or blunt needle and install it correctly.
- Switch off and clean dust and thread from beneath the needle plate and bobbin case.
Stitch is not formed correctlyView
Fit the proper presser foot and adjust thread tension. Switch off and remove tangled thread, then clean the race.
Fabric does not feedView
Remove the darning plate for ordinary feeding. Match the needle, thread and fabric and use the correct foot. Switch off, remove tangled thread and clean the race.
Wind and fit the bobbin5 steps
- Use the specified bobbin, not a taller type.
- Route thread through the bobbin-winding guide and hole, seat the bobbin on the shaft and move it right.
- Wind a few turns, stop and trim the end, then finish winding.
- Return the shaft left.
- Switch off before lower threading; place the bobbin in the direction shown, guide thread through the tension spring and refit the cover.
Thread the upper path4 steps
- Switch off and raise the foot and thread take-up lever.
- Seat the spool, pass thread through the upper guide and tension path, then through the take-up lever from right to left.
- Pass behind the needle-bar guide and thread the needle front to back, leaving about 5 cm.
- If it fails to sew correctly, rethread with the presser foot raised.
Adjust upper-thread tension4 steps
- Use a test scrap of the same fabric.
- For loops on top, reduce upper tension after checking the bobbin is fitted correctly.
- For loops underneath, rethread the upper path with the foot raised, then increase tension if needed.
- Balanced stitches join within the fabric.
Guides
Replacing the needle
Instructions from the manualReplace or refit the needle4 steps
- Switch off.
- Raise the needle by turning the handwheel toward you, lower the foot and cover the needle-plate hole with fabric to catch a dropped needle.
- Loosen the clamp screw and remove the needle.
- Insert a straight needle with its flat side toward the back, push it to the stopper and tighten firmly with the screwdriver.
Cleaning
Instructions from the manualClean the race and bobbin case6 steps
- Unplug the machine.
- Raise the needle and remove the foot, holder and needle.
- Remove the needle-plate screws and plate, then lift out the bobbin case.
- Brush lint from the race without oiling it.
- Refit the case with the alignment marks matched, refit the plate and tighten its screws.
- Do not use a scratched bobbin case; ask an authorized service center for a replacement.
Model details
Model and compatibility
- Bobbin
- Use the supplied 11.5 mm bobbin type, SA156 or SFB XA5539-151. Taller bobbins from other models can damage this machine. [1]
- Needles
- Match the needle and thread to the fabric. For stretchy fabric, the guide recommends Organ HG-4BR or Schmetz 130/705H SUK 90/14 ball-point needles. [1]
- Maintenance
- Do not oil the machine or bobbin case. A scratched bobbin case requires the correct replacement from an authorized service center. [1]